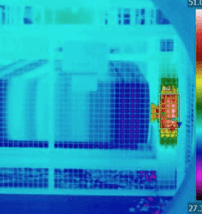
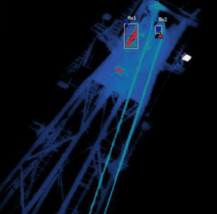
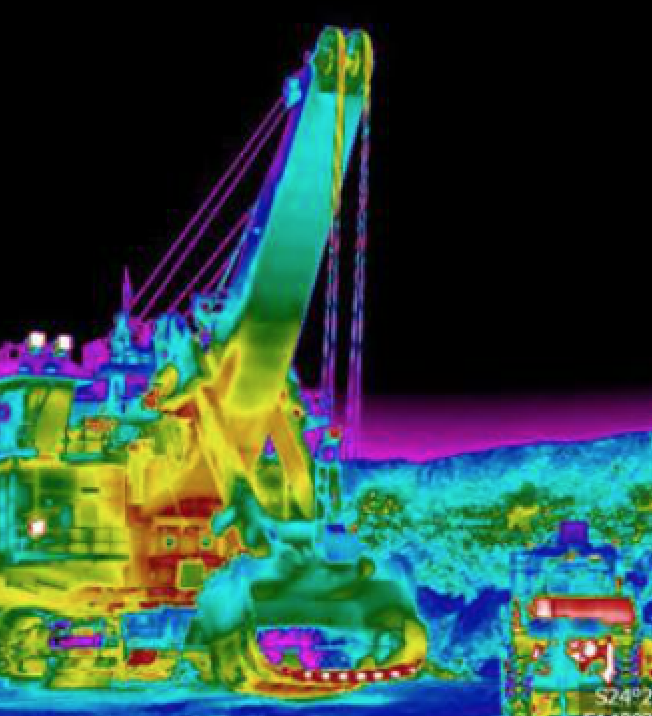
Jeff Erichson from the Australian Professional Thermography Association shares his thoughts on his journey and the development of thermography in mining. Thermography (Thermal Imaging) is now an important safety process that can assist mining companies to identify potential failures through identification of structural defects, identification of component wear and a range of electrical thermal defects.
A Journey in Thermography Begins
Jeff begins…..As I begin to write this story I reflect on the changes I have witnessed as I enter my 22nd year in the Mining Industry. For the most part, I have been Heavy Mobile Equipment Fitter, with the past 10 years or so involved in the management of the same type of tradespeople.
Almost 25 years ago, I was introduced to the spot ray gun, or Infrared Spot Radiometer. It was a remarkable tool…25 years ago. However, is still heavily relied upon today due to its un-known inaccuracies.
Just over six years ago though, I was introduced to a game changer, albeit at probably the wrong time in the world of Mining…Infrared Thermography.
It was late 2012 and mining in Queensland was going bad, very bad and I was looking for a change of course in my business, something that nobody else was doing. Quite by accident, I was introduced to the technology and realised the potential that it had to offer the Mining Industry if the systems could be developed and introduced correctly.
It had all of the attributes necessary (at a cost of course).
- It was safe, non-contact.
- It was non invasive.
- It was non destructive.
- It was multidisciplinary:
- Electrical
- Mechanical
- Hydraulics
- Wear identification (such linings of piping in process plants)
- Fire prevention (such as coal stockpile management)
- Could operate from a considerable distance.
- Could be used for Condition Monitoring
What followed was a flurry of approximately 3 months of intensive research on the technologies uses in

Mining and Industry. I researched through the Internet and found not much at all. I downloaded ISO Standards and I spoke to friends in many types of positions in mining, from the floor through to upper management. While many seemed to understand the value and some even purported to be using it fully. Upon further investigation, they really did not know much except that it found components that looked to have issues because they were ‘hot’.
When asked what systems they had in place to categorise these faults, there was silence.
When asked ‘how hot is hot’ there was more of the same.
The only considerable amount of information available to the general public was regarding electrical and those components driven by an electric motor. The mechanical information was extremely broad. Even the OEM’s information was either too broad, non-existent, or on closer inspection, inefficient.
I decided I had found a niche in the market and decided to go for it. By March 2013 I had purchased a high-end IR thermal imager with a powerful telephoto lens, completed the Level 1 Thermography to ISO 18436-7 and had joined Australia’s leading body for Thermography, the Australian Professional Thermography Association Inc. (AUSPTA).
It was then, (pretty much all in the space of 2 weeks) that I realised how much I did not know and more dauntingly, how much I had to learn.
Thanks to the support and knowledge of the AUSPTA group and their Industry User Groups, I began to gain some confidence in what I was doing.
I then set about visiting every site in Queensland, New South Wales and the Northern Territory where I knew anybody who was willing to let me visit site and look at their equipment and I began to develop and test my own set of standards on the equipment that I was familiar with.
I was still always looking and listening for methods that had already been in place, but other than a vibration analyst carrying a low-end IR camera as an adjunct to their equipment and taking ‘temperatures’ when they found a fault with VA, there was not much going on.

I had a couple of clients carrying out Thermography on dozer undercarriages, but it was poorly done and only the components that were going to fail were found.
As far as they were concerned, you can’t ‘save’ the component, you know it is going to fail, so you keep it going until it reaches a planned change out.
There seems to be no focus on preventing failures. This became my mission.
Mining is a dynamic, challenging and at times unstable and unpredictable Industry. There are many safety constraints that forced me to become inventive and more importantly to sharpen my skills.
By the end of 2013 I had a basic, but effective system, with tried and proven severity levels that related to the temperature of the components of the equipment I was looking at. My work branched into equipment that I did not know a lot about, such as fixed plant, draglines and electric face shovels. However, by carefully documenting the normal operating temperatures of the components, trending them over time and following up on identified problems or failures, I was able to establish normal and abnormal operating conditions that related to the thermal energy being emitted from them.
Like any system, it is still evolving to this day as my team and I continuously review and reclassify component temperatures and thermal patterns that relate to lubrication and wear.
Our biggest success is in the sealed components of the bulldozer undercarriage. This is also the most common area where the spot radiometer is still widely used.
Clients do not really understand just how much money can be saved in this area if your equipment, training and process are correct.
Greased bearings, such as those on fixed plant and hydraulic excavator and face shovel attachment bearings, are next down on the list of success.
Lack of lubrication and contamination in these components causes accelerated wear and eventually failure.
Once again, a trained experienced Thermographer with systems and processes in place is able to assist in
the prevention of failure in these components.
Value of Thermography to Mining
A quick SWOT (Strengths, Weaknesses, Opportunities and Threats) analysis on Thermography from a Thermographer’s point of view may be the correct way to go to illustrate it’s value in the mining environment.
Strengths of Thermography in mining:
- One of the fastest, most effective mass scanning tools of components;
- Safe;
- Non Contact;
- Non Destructive;
- Non Invasive;
- A lot of information is made available by the image (cost dependent);
- Condition Monitoring / trending.
Weaknesses of Thermography in mining:
- Line of sight only;
- Only measures the heat emitting from the surface of the object;
- Temperature to failure time is non-linear and therefore the ‘how long have we got’ question is pretty hard to answer, though a lot of information can be discerned from trending / Condition Monitoring.
Opportunities:
A temperature change is a byproduct of almost all physical processes we use in our world today. In fact, try to think one that does not involve a change in temperature.
This gives you an idea of the opportunities that this technology offers. What is difficult about unearthing these opportunities is the time it takes to define what the thermal image is telling you.
Threats:
- The old saying ‘arrogance and ignorance go in hand’ could not be truer when it comes to this technology. ‘You don’t know what you don’t know’;
- Cowboys – those who don’t believe you need a course, or a decent camera, or knowledge of thermodynamics and how it relates to what your imager is telling you. This leads to another old saying ‘ignorance is bliss’.
- Just taking temperatures. Temperature is one small part of what information the imager can provide you…if you have a decent imager’;
- Equipment purchase based on cost:
- It is easy to opt for the cheapest option as on the box, it says accurate to +/- 2°C right? That’s is great if you think that is all of the information you need.
Finally, Thermography is like another apprenticeship. The camera see’s thermal energy, not temperature, so therefore you need to understand what the thermal imaging camera is telling you.
Those around who trivialise the use of the technology are easy to follow. We often find 50% to 75% more faults than they do purely because they have no idea what they are looking at, which highlights the requirement for training and the use of trained, qualified & certified personnel.
There are isolated pockets of Mining Companies that have endeavoured to ‘do the right thing’ by getting their people trained, at a minimum, in Level 1 Thermography, but then that is as far as it has gone. No engagement up by Certified Thermography Consultant to ensure they have implemented the procedures and processes correctly.
I look forward to the time when mining fully embraces the technology and realises the savings and safety benefits that will come with it.
References:
AUSPTA Inc – http://auspta.asn.au
http://www.irinfo.org/10-01-2002-garber/
Read more Mining Safety News


Add Comment